First Contact – The 2/30th Battalion Ambush at the Gemencheh River
 At 4.00 PM on 14 January 1942 the long-awaited first clash between Australian troops and the Imperial Japanese Army occurred at the Gemencheh River, about twelve kilometres west of Gemas in Malaya. While this narrative does not allow a full discussion of the Malayan campaign, some background is necessary to place the action in context.
Despite changes to the original “Singapore Strategy”, the continued defence of Malaya and Singapore Island remained important to the security of Australia. Following British requests, the 22nd Brigade Group of the Australian 8th Division, with elements of divisional headquarters, arrived in Malaya on 18 February 1941. A second brigade, the 27th, was deployed in August. The understrength division was allocated responsibility for the defence of Johore, southernmost of the peninsula states.
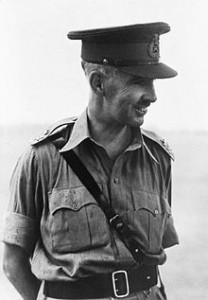 Following initial landings early on 8 December 1941 the Japanese adopted an aggressive and flexible manoeuvre strategy. They drove the British and Indian formations of Malaya Command from a series of delaying positions and thrust rapidly down the peninsula. Lieutenant General Percival, commanding Malaya Command, saw his defensive plan collapsing. It was decided that the main battle for defence of the peninsula would now be fought in Johore, holding an east - west line Mersing – Segamat – Muar. This was the southernmost position that could still provide a security zone for Singapore, allowing it to continue functioning as a port for reinforcements and evacuation.
 Major General Gordon Bennett, commanding the 8th Division, was given responsibility for the centre and west of the peninsula, including the trunk road at Gemas / Segamat and the Muar front on the west coast. Bennett’s appreciation of the situation identified the trunk road as the Japanese main axis of advance. Having correctly interpreted their tactic of a driving charge which had so successfully unhinged the northern British defence, he planned to halt the Japanese momentum by large scale ambushes along the trunk road and force them to attack strong blocking positions. When the Japanese tried to outflank these positions they would, in turn, be attacked in the flank by units deployed in depth.
The 2/30th Battalion of the Australian 27th Brigade had been rehearsing for an ambush task since late December and Bennett’s concept called for a battalion-sized action to inflict maximum destruction. However difficulty in finding a position large enough, and the battalion commander’s concerns regarding control of the whole battalion in an area ambush layout, resulted in a company-sized position being selected for the ambush. The remainder of the battalion would occupy a defensive position six kilometres behind the ambush, forcing the Japanese to deploy for a deliberate attack
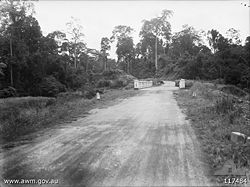
At the ambush site the road crossed the Gemencheh River Bridge, ran through flat scrub for 30 metres, then passed through three cuttings separated by areas of swamp and grass. B Company, 2/30th Battalion, deployed one platoon astride the first cutting, to fire on the approaches to the bridge. The other two platoons were sited either side of the road, firing down into the cuttings and throwing grenades up onto the road from the long grass. Artillery from the 2/15th Field Regiment had registered targets in support of the ambush and the bridge was prepared for demolition. Success depended on waiting until sufficient enemy were in the killing ground. After 250 Japanese infantry on bicycles had passed through the ambush the bridge was blown and fire was opened onto the road. However the leading Japanese, who had passed through the ambush, had located and cut the phone lines to the gun position and battalion headquarters so the artillery never received the order to fire. This problem was compounded by the actions of the battalion commander. Fearing location of his headquarters by Japanese direction-finding equipment he forbade the use of radio in the ambush and had also denied the artillery battery commander’s request to use a dispatch rider to bring confirmation of the springing of the ambush.
 After 20 minutes Japanese were attempting to outflank the ambush party, while those who initially had been allowed through the ambush were fighting their way back up the road. B Company had to fight their way out of the ambush site and it was not until late on 16 January that the last men rejoined the battalion. The ambush cost B Company one dead and nine wounded. Japanese casualties were estimated at up to 1,000 but this was an exaggeration. Japanese records show 70 dead and 57 wounded, so the actual number is hard to establish.
Although the ambush was a success, initially achieving surprise, the Japanese employment of practiced battle drills allowed them to regain the initiative. The Japanese advance resumed within an hour and the bridge was repaired and in service in six hours.
Article written by Rod Margetts - who is a battlefield tour guide for Boronia Travel Centre.
Image Top Left: Gemencheh Bridge in 1945.
Image Middle Left: Lieutenant-General Arthur Ernest Percival in Malaya, December 1941.
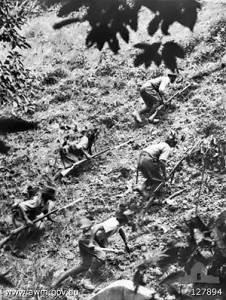
Image Middle Right: Japanese troops advancing near Gemas, Malaya.
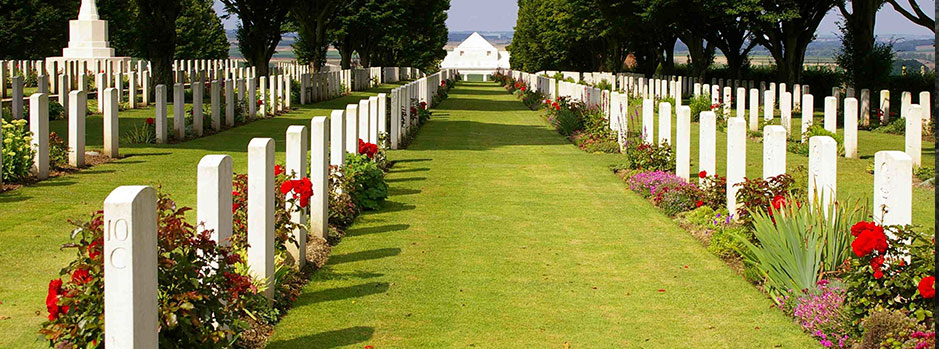
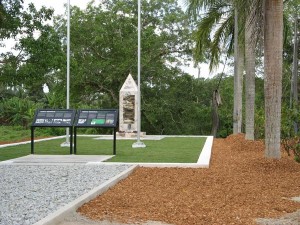
Image Bottom Right: Gemencheh Memorial 2012.
This entry was posted in Historical Highlights. Bookmark the permalink.
