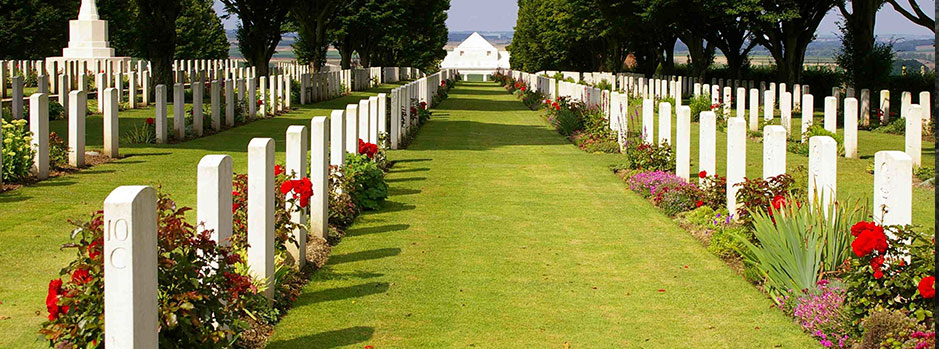
August Offensive – Gallipoli
 August 1915 at Gallipoli is remembered for the last attempt to restore manoeuvre to the battlefield, following the stalemate of June and July. Because of the scope of the operations involved, this month’s highlight summarises the overall plan for the August Offensive. Subsequent issues of Battlefield News will discuss the individual actions that made up the offensive - names that are now famous in the ANZAC story.
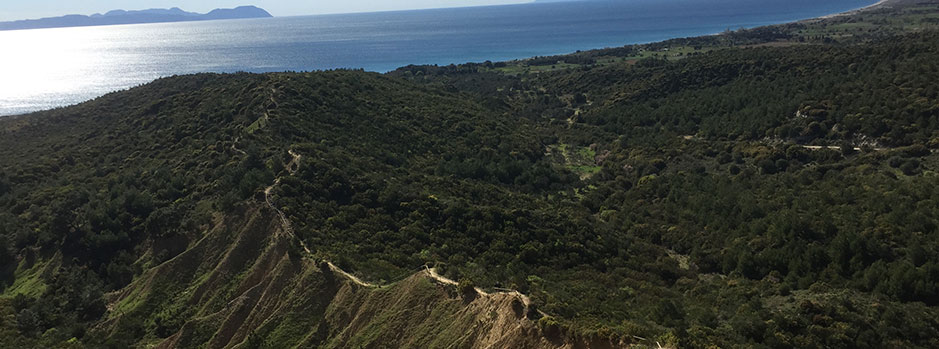
At the end of May the ANZAC commander, General Birdwood, proposed an ambitious attempt to break the deadlock by an outflanking move through the tangled, broken country to the north of the ANZAC perimeter. This coincided with news of a final reinforcement to the campaign of five new divisions from England. Space and security considerations meant that all these troops couldn’t be accommodated within the small ANZAC beachhead. Birdwood planned to use the ANZAC troops, reinforced with an Indian brigade and the newly arrived British 13th Division. Two of the other new British divisions, organised as the IX Corps, would land at Suvla Bay, 10 km north of Anzac Cove, to support the ANZAC move. As a further deception measure, British troops at Cape Helles would attack the Turks on their front on the afternoon of 6 August. Success would leave the allies holding the features which dominated the middle of the peninsula - Chunuk Bair, Hill Q and the highest point, Hill 971.
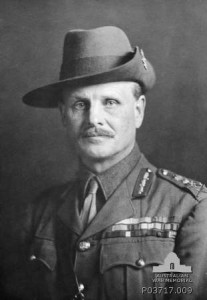 Birdwood (pictured right) planned to fix Turkish attention at the southern end of the ANZAC perimeter with a diversionary attack at Lone Pine late on 6 August. Then, during the night, Australians, New Zealanders, British and Indian troops, advancing in several columns, would seize the high ground of the main Sari Bair range. At the same time, the Suvla landings would neutralise the Turkish threat to this flank movement. Finally, at first light on 7 August the 3rd Light Horse Brigade would attack across The Nek, converging with the New Zealanders attacking down the ridgeline from Chunuk Bair. This would be supported by other attacks along the Second Ridge front line against German Officers’ Trench, Turkish Quinn’s and the Chessboard. As we now know, apart from costly success at Lone pine, all the other phases of the operation failed and we will look at them in more detail in coming editions of the Newsletter.
A special Boronia battlefield tour, planned for 2015, will commemorate the August Offensive, with in-depth coverage of this significant period in the Gallipoli campaign.
Pictured Top Left: A scene just before the evacuation at Anzac. It features Australian troops charging near a Turkish trench. Source: Wikipedia.
Article written by Rod Margetts - who is a battlefield tour guide for Boronia Travel Centre.
This entry was posted in Historical Highlights. Bookmark the permalink.
